Here is the updated post in English with the necessary AWS CLI commands to create a new IAM role for the Lambda function, alongside configuring API Gateway and deploying the landing page.
TL;DR
Serverless computing allows developers to build and run applications without worrying about managing the underlying infrastructure. This pay-as-you-go model reduces costs and complexity, making it easier to scale applications.
Introduction
Serverless computing is a cloud service model where developers can focus on building applications without managing servers. Cloud providers like AWS Lambda, Azure Functions, and Google Cloud Functions handle the infrastructure, allowing developers to focus on writing code and deploying it quickly.
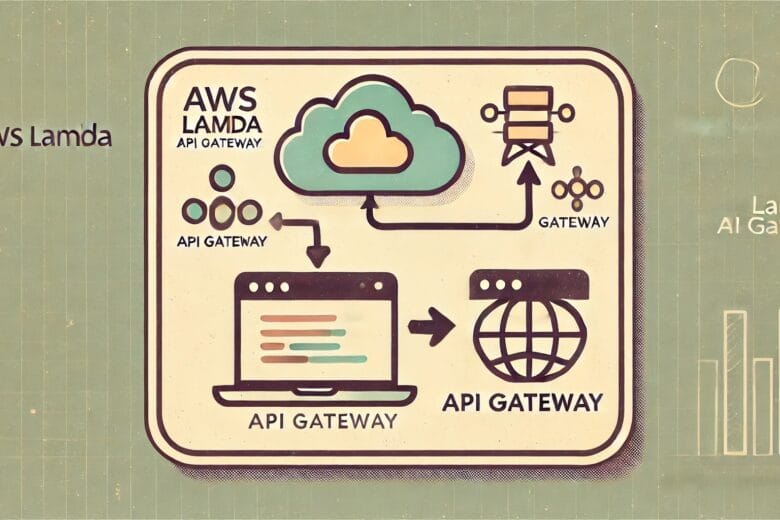
In this guide, we will build a simple landing page powered by AWS Lambda and API Gateway. Instead of using an S3 bucket to host static content, we will use Lambda to dynamically serve the HTML through an API Gateway, making the process fully serverless.
How Serverless Computing Works
In serverless computing, developers write code in functions (like AWS Lambda) that are triggered by events (such as HTTP requests via API Gateway). These functions are executed on-demand, and you only pay for the time the function is running.
Creating a Landing Page Using Lambda and API Gateway with a New IAM Role
Let’s go step-by-step to create a Lambda function that generates a landing page, create an IAM role for the Lambda execution, and configure API Gateway to expose the Lambda function as a web URL.
Step 1: Set Up the AWS CLI
Ensure the AWS CLI is installed and configured with the necessary permissions. You can install the AWS CLI by following the official documentation.
Once installed, run the following command to configure your CLI:
aws configure
You’ll need to provide your AWS access key, secret key, default region, and output format.
Step 2: Create the IAM Role for Lambda
We first need to create a new IAM role that will allow Lambda to execute. The role needs the AWSLambdaBasicExecutionRole policy to grant Lambda permissions to write logs to CloudWatch.
1. Create a trust policy that allows Lambda to assume this role:
cat <<EOD > trust-policy.json
{
“Version”: “2012-10-17”,
“Statement”: [
{
“Effect”: “Allow”,
“Principal”: {
“Service”: “lambda.amazonaws.com”
},
“Action”: “sts:AssumeRole”
}
]
}
EOD
2. Create the IAM role using the trust policy:
aws iam create-role –role-name lambda-execution-role –assume-role-policy-document file://trust-policy.json
3. Attach the AWSLambdaBasicExecutionRole policy to the new role:
aws iam attach-role-policy –role-name lambda-execution-role –policy-arn arn:aws:iam::aws:policy/service-role/AWSLambdaBasicExecutionRole
Take note of the ARN returned for this role because we will need it in the next step. You can also retrieve the ARN using this command:
aws iam get-role –role-name lambda-execution-role –query ‘Role.Arn’ –output text
Step 3: Create the Lambda Function
Now, let’s create the Lambda function that returns the HTML for the landing page.
1. Write the Lambda function code in Python using a heredoc:
cat <<EOD > lambda_function.py
def lambda_handler(event, context):
return {
‘statusCode’: 200,
‘headers’: {
‘Content-Type’: ‘text/html’,
},
‘body’: “””
<!DOCTYPE html>
<html lang=”en”>
<head>
<meta charset=”UTF-8″>
<meta name=”viewport” content=”width=device-width, initial-scale=1.0″>
<title>AI Transformation</title>
</head>
<body>
<h1>AI is Transforming the World</h1>
<p>Artificial Intelligence is reshaping industries and helping people with smarter solutions—from healthcare to finance and daily tasks!</p>
</body>
</html>
“””
}
EOD
2. Zip the function file so it can be uploaded to Lambda:
zip function.zip lambda_function.py
3. Create the Lambda function using the new role:
aws lambda create-function \
–function-name ai-landing-page \
–zip-file fileb://function.zip \
–handler lambda_function.lambda_handler \
–runtime python3.9 \
–role arn:aws:iam::your-role-arn
Replace your-role-arn with the ARN of the role created in Step 2.
Step 4: Create an API Gateway with AWS CLI
Now, let’s create an API Gateway to expose the Lambda function over HTTP.
1. Create a new REST API:
API_ID=$(aws apigateway create-rest-api –name “AI Landing Page API” –region your-region –query ‘id’ –output text)
2. Get the root resource ID for the API (this is the parent resource):
RESOURCE_ID=$(aws apigateway get-resources –rest-api-id $API_ID –query ‘items[0].id’ –output text)
3. Create a new resource (path) under the root resource:
aws apigateway create-resource –rest-api-id $API_ID –parent-id $RESOURCE_ID –path-part “landing”
4. Create an HTTP GET method for the new resource:
aws apigateway put-method –rest-api-id $API_ID \
–resource-id $RESOURCE_ID \
–http-method GET \
–authorization-type “NONE”
5. Integrate this method with the Lambda function:
aws apigateway put-integration –rest-api-id $API_ID \
–resource-id $RESOURCE_ID \
–http-method GET \
–type AWS_PROXY \
–integration-http-method POST \
–uri arn:aws:apigateway:your-region:lambda:path/2015-03-31/functions/arn:aws:lambda:your-region:your-account-id:function:ai-landing-page/invocations
Replace your-region and your-account-id with your actual AWS region and account ID.
Step 5: Deploy the API Gateway
Once the API Gateway is set up, deploy the API so that it can be accessed via a public URL:
aws apigateway create-deployment –rest-api-id $API_ID –stage-name prod
Retrieve the public URL to access your landing page:
echo “https://$API_ID.execute-api.your-region.amazonaws.com/prod/landing”
This URL will allow you to access the Lambda-powered landing page.
Step 6: Test Your Lambda-Powered Landing Page
Now, open the URL obtained from the previous command in your browser. You should see the AI landing page dynamically served by the Lambda function.
Conclusion
In this post, we built a simple landing page using AWS Lambda and API Gateway. We also created an IAM role specifically for Lambda execution and used AWS CLI to set up everything, including deploying the API Gateway. This approach eliminates the need for static hosting like S3 and shows the flexibility of serverless computing in deploying dynamic applications.
This post now includes everything needed to create the Lambda function, the IAM role, and the API Gateway setup using AWS CLI. The landing page is fully served by the Lambda function, which is secured by the newly created IAM role.

