Git is an essential tool for developers, but many only scratch the surface of its capabilities. Sure, we all know the basics — git add, git commit, and git push. But there is so much more to Git that can simplify your workflow, improve productivity, and help you keep your code organized. In this comprehensive guide, we will take you beyond the basics of Git to explore advanced commands that can make a world of difference.
Grab a cup of coffee, sit back, and let’s dive into the fascinating world of advanced Git commands. Whether you want to clean up your commit history, isolate a bug, or make quick updates, there’s an advanced Git command for you.
1. Introduction to Advanced Git Commands
Before diving into the specific commands, it’s essential to understand why these advanced tools are so useful. Git is not just about version control; it’s also about enabling better collaboration, faster debugging, and efficient project management. The more you know about Git, the more you can leverage its power to create organized, efficient, and clean projects.
In this article, we’ll cover advanced Git commands that can:
- Improve productivity by saving time during your development process.
- Keep your project history clean for better collaboration.
- Help you recover from mistakes.
So, if you’re ready to level up your Git knowledge, let’s get started.
2. Keeping a Clean History with git rebase
One of the most commonly misunderstood yet powerful commands in Git is git rebase. This command allows you to reapply commits on top of another base tip. The advantage of rebasing is that it keeps your commit history clean and easy to follow.
When you merge branches with git merge, you keep the history of all those branches. In contrast, git rebase takes your changes and “replays” them on top of another branch, providing a linear commit history. A clean history is particularly important when working on large teams where readability is critical.
For instance, imagine you are working on a feature branch, and the main branch has moved forward since you started. You can use git rebase main while on your feature branch to make sure your changes are applied after the latest commits on main.
Example:
git checkout feature-branch
git rebase main
This command helps in maintaining a linear and clean history, which is easy to navigate and understand. But beware: avoid rebasing on branches that are shared with others. It rewrites commit history, which can cause trouble if others are working off the same branch.
Image Suggestion: A diagram comparing a git merge history (with multiple branches and merge commits) versus a git rebase history (showing a single, linear commit line).
3. Extracting Commits Using git cherry-pick
git cherry-pick allows you to take a single commit from one branch and apply it to another. This command is handy if you need to apply specific fixes or features from another branch without merging the entire branch.
For example, let’s say there’s a bug fix on the bugfix-branch that needs to be included in main. Instead of merging the entire branch, you can use git cherry-pick to apply just the fix.
Example:
git cherry-pick <commit-hash>Using this command ensures you only bring in the changes you need.
4. Saving Changes Temporarily with git stash
When you are in the middle of implementing a feature and need to switch contexts, git stash is incredibly useful. It allows you to save your uncommitted changes temporarily without committing them.
Imagine working on a new feature when an urgent bug requires immediate attention. Instead of committing incomplete work, you can stash the changes.
Example:
git stashThis command puts your current changes away safely, allowing you to switch branches without cluttering your commit history.
Later, you can apply those stashed changes back to your branch using:
git stash popPro Tip: You can have multiple stashes and even name them for easier management.
5. Undoing Commits with git reset and git revert
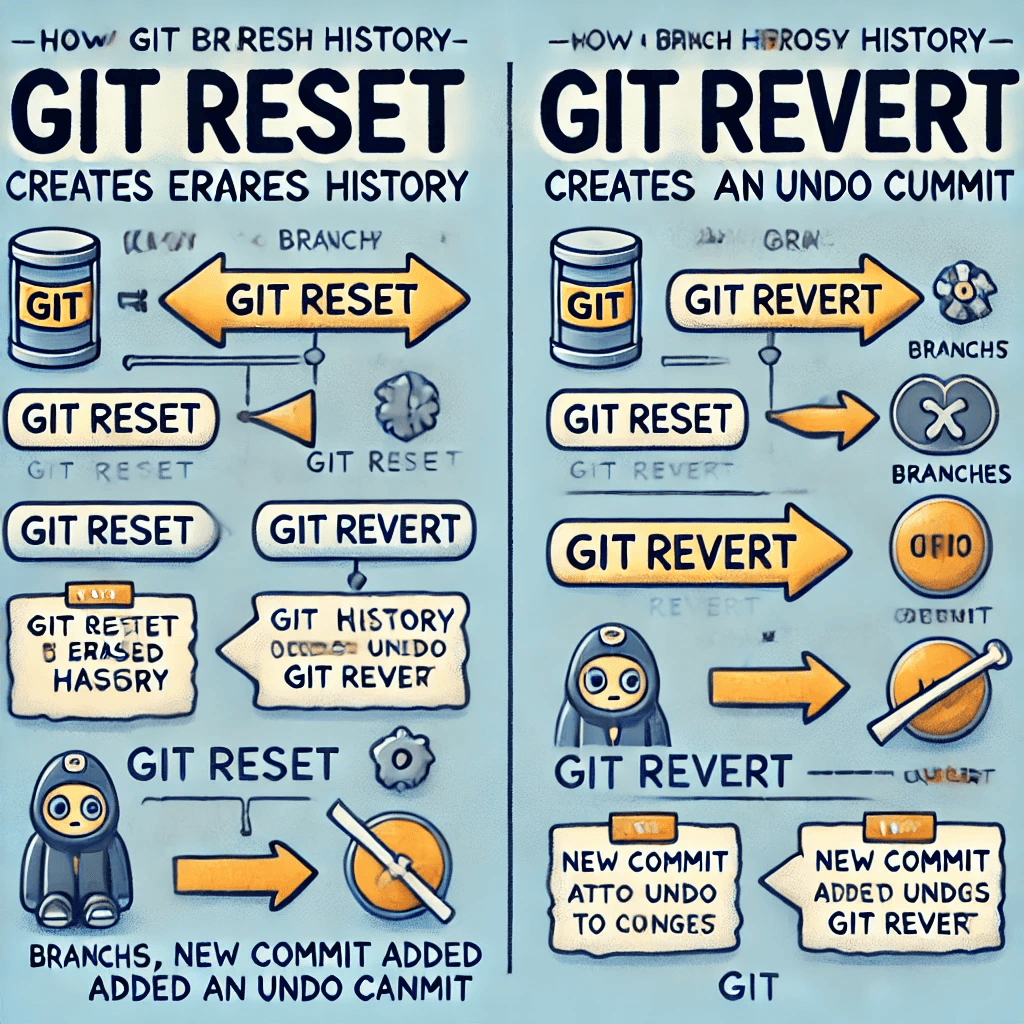
It happens to the best of us — you make a mistake and need to undo a commit. Git offers two powerful commands for this: git reset and git revert.
git reset: This command moves the branch pointer to a previous commit, effectively erasing commits that come after it. It’s best for local changes.
Example:
git reset --hard <commit-hash>This can be dangerous as it permanently deletes commits from the history.
git revert: Unlike reset,git revertcreates a new commit that undoes the changes made by a specific commit. This is safer and preferable when the branch has already been shared with others.
Example:
git revert <commit-hash>It keeps the history intact while ensuring the unwanted changes are removed.
6. Navigating History with git reflog
Have you ever lost a commit and thought it was gone forever? git reflog can be a lifesaver. git reflog keeps a record of every change made to the tip of branches, which is helpful if you need to recover lost commits.
To see a list of actions you’ve performed:
git reflogThis command shows you every branch, commit, and reset you’ve done, so you can navigate back to points that might have been overwritten or lost.
7. Finding Bugs Efficiently with git bisect
If you need to find out which commit introduced a bug, git bisect can be a huge time-saver. It performs a binary search through your commit history to help you zero in on the problematic commit.
Start by running:
git bisect start
git bisect bad  # Indicate the commit where the bug is present
git bisect good <commit-hash>  # Indicate a commit without the bug
Git will guide you through testing different commits until the culprit is found, making the bug-hunting process much quicker and more systematic.
8. Cleaning Up with git clean
After working on a project for a while, you may accumulate untracked files, temporary builds, or other clutter. git clean is a quick way to remove these unwanted files and keep your repository clean.
Example:
git clean -fUse this command with caution, as it permanently deletes files that aren’t tracked by Git.
Pro Tip: Use git clean -n to preview what would be removed before committing to the clean-up.
9. Customizing Your Workflow with Git Aliases
Typing the same long commands repeatedly can be cumbersome. Git allows you to create aliases for commonly used commands to streamline your workflow.
For example, you can set an alias for git checkout:
git config --global alias.co checkoutNow, instead of typing git checkout, you can just use git co. You can create aliases for almost any Git command, saving time and reducing repetitive strain.
10. Advanced Commands to Improve Workflow
10.1 git worktree
git worktree allows you to create multiple working directories from a single Git repository. This is especially useful when you want to work on multiple features simultaneously without switching branches.
Example:
git worktree add ../new-feature-branch feature-branchThis creates a new working tree linked to your repository, allowing you to make changes in a separate directory.
10.2 git submodule
If your project depends on another repository, git submodule helps you include one Git repository inside another. It’s a great way to manage dependencies or include third-party libraries.
Example:
git submodule add <repository-url> <path>This command adds the submodule to your project, making it easier to manage dependencies while keeping them separate.
10.3 git filter-branch
git filter-branch is a powerful command that allows you to rewrite your commit history. This can be used to remove sensitive data from your history or make other modifications across many commits.
Example:
git filter-branch --tree-filter 'rm -f secrets.txt' HEADThis command removes the file secrets.txt from every commit in the history, effectively cleaning your project of sensitive data.
11. Conclusion
Git is a powerful tool for managing code, but the true power lies in its advanced features. By learning how to use commands like git rebase, git cherry-pick, git stash, and others, you can take control of your code and work more efficiently. Whether you’re part of a large team or working on solo projects, mastering these advanced Git commands can greatly improve your productivity.
We hope this guide has inspired you to explore more of Git’s capabilities. Practice these commands, and don’t be afraid to experiment in a safe, non-production environment. You’ll soon find yourself more confident and capable in managing even the most complex projects.
Relevant Links:
If you found this guide helpful, be sure to share it with your peers and leave a comment below on how these commands helped you in your projects!
Let’s make Git work for you. Remember, every expert was once a beginner. Keep learning, keep coding!
